
Sirona's Advanced Imaging Suite supports PET/CT workflows, including image fusion, quantitative SUV analysis, maximum intensity projection (MIP), and multi-planar reconstruction (MPR). PET/CT functionality must be enabled for your organization before it can be used.
Create a fused PET/CT image:
- Open the PET and CT series in the Viewer.
- Hold Alt (Windows) or Option (Mac).
- Drag the CT series onto the attenuation-corrected PET series, or drag the PET series onto the CT series.
- Confirm that the fused series opens in the Viewer.
Available options: PET, Jet, Rainbow, Hot Iron (default). You can return to grayscale if needed.
When users attempt to fuse incompatible CT and PET images, the system will present an error message ‘Combination Incompatible for PET/CT Fusion’ as shown below:
Error warning is presented to prevent the users from fusing incompatible PET and CT images:
Color Map is applied to the PET/CT fused series, PET series and PET MIPs in the figure below:
Users can easily switch between a fused PET/CT, PET and CT series by using the following keyboard shortcuts:
- Alt+1 - CT
- Alt+2 - PET
- Alt+3 - Overlay
To window-level PET and CT series while on the fused PET/CT image use the following steps:
Select the window level tool from the toolbar or via a saved keyboard shortcut key. You will see the viewport vertically delineating in 2 halves. To adjust the CT window-level, left click and on the left half of the viewport and adjust the window level. To adjust the PET intensity, left click on the right half of the viewport and adjust.
Maximum Intensity Projection for PET image
Maximum Intensity Projections (MIPS) display the volumetric PET image data in a single view, enabling better visualization of high uptake regions across the patient body.
How to create a MIPS view for PET image:
- Users can select the 2D eye icon on the top right corner of the viewport to see the MIPS view only when the viewport contains a PET image.
- Users can rotate the generated MIPS view by left clicking on the patient orientation cube on the top right corner of the viewport and rotating it. The patient orientation cube is labeled as follows: A - Anterior, L - Left, R - Right, P - Posterior.
- Users can adjust the windows on the PET MIPs as needed.
- Users can adjust the windowing on the PET MIPs as needed.
Standardized Uptake Value
The viewer enables quantitative evaluation of metabolic activity via SUV measurements. Users can annotate regions on PET or PET/CT-fused images to extract SUV measurements.
How to measure SUV:
Step 1. Select the ellipse tool from the toolbar or custom tools Step 2. Use the ellipse tool to create an annotation on a PET image or a fused PET/CT image.
The SUV max measurement will be shown along with a SUV label
Step 3. Click on expand label icon to also view SUV min and SUV mean.
Step 4. To edit the SUV label, click on the pen icon. You will see the SUV Adjustments modal appear. Update the ‘Annotation Label’ text field and select Apply to save and update the new label. Select Cancel to reject any changes.
Update the Label and Apply
Updated Label
In the figure below, the updated label along with the SUV values are displayed on the fused PET/CT image as well as the PET image. The CT image in the first viewport displays the underlying area, max, min, standard deviation in Hounsfield Units for the annotation created on a PET/CT fused image.
Multiplanar Reconstruction (MPR)
Multiplanar Reconstruction (MPR) allows users to view PET and PET/CT-fused images across axial, sagittal, and coronal planes, enabling more accurate localization and assessment of findings. Users can select the 2D eye icon on the top right corner of the viewport to see Coronal and Sagittal views.
Axial view - PET/CT fused
Sagittal View - PET/CT fused
Coronal View - PET/CT fused 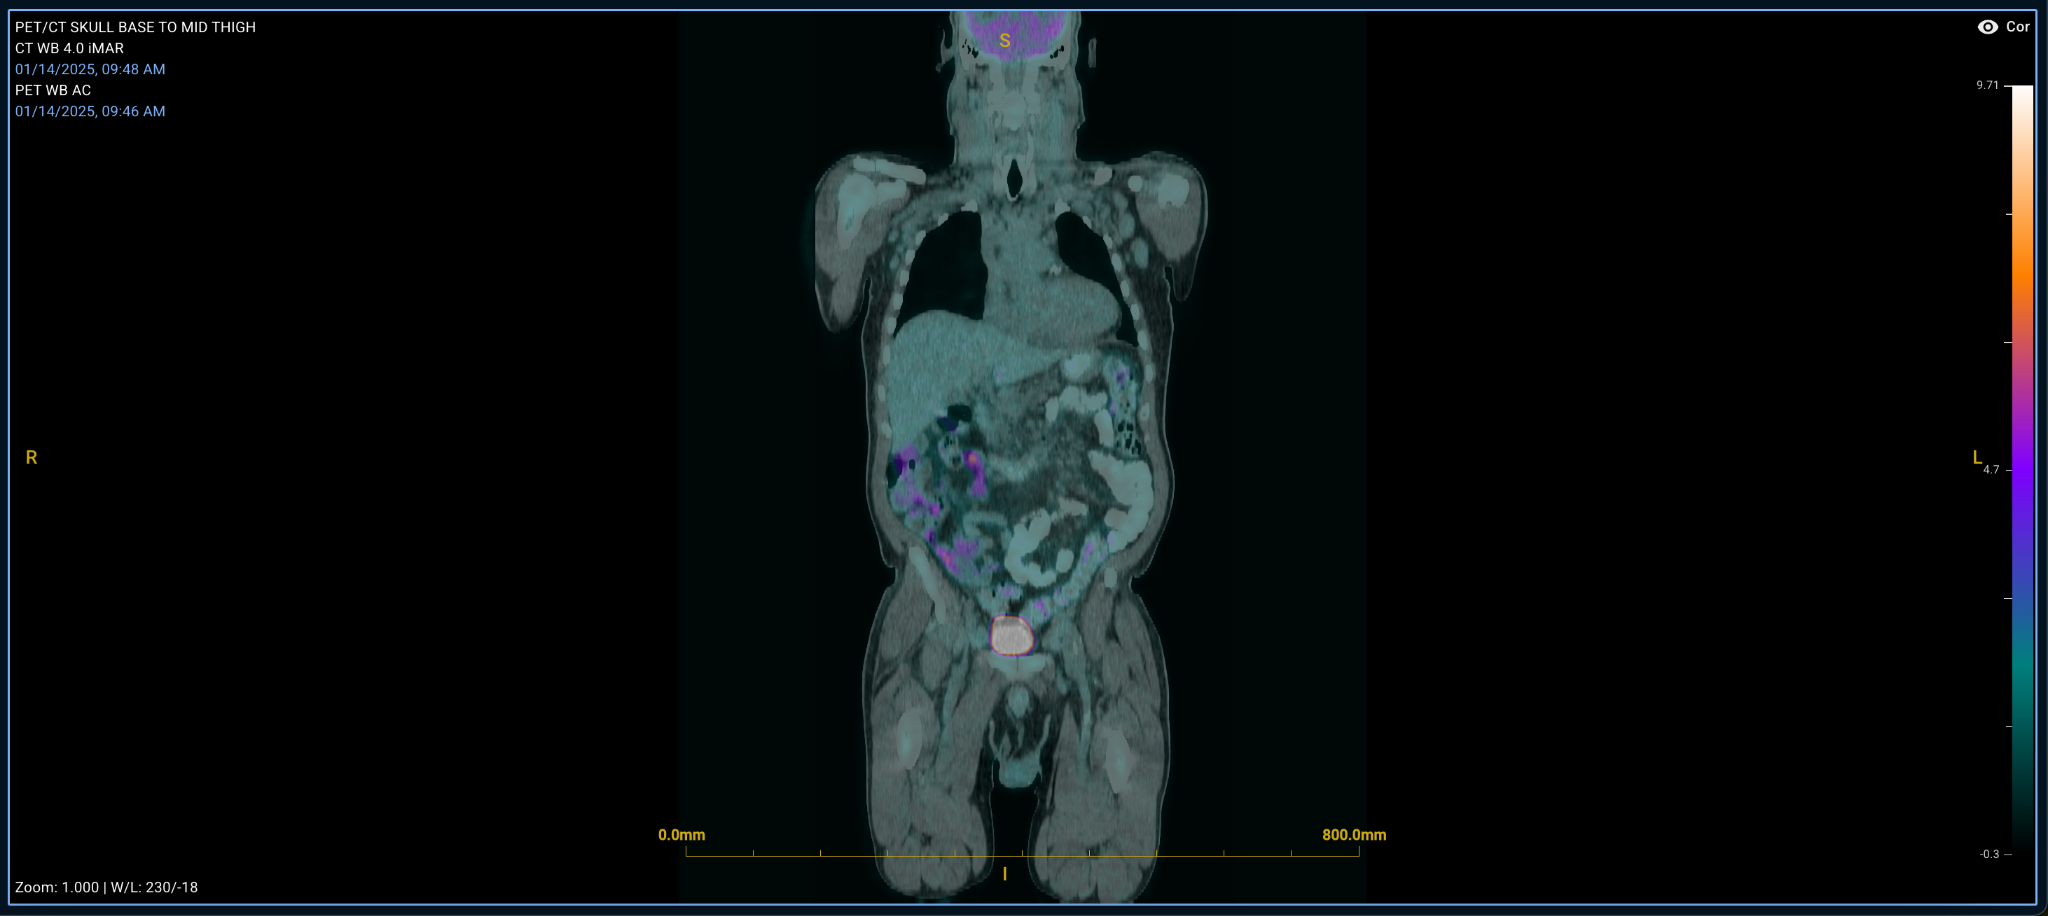
MPRs of PET images shown below:
Default view: Axial view - PET
Sagittal View - PET
Coronal View - PET
Notes
PET/CT is part of Sirona's Advanced Imaging Suite and should be enabled and deployed intentionally. Organizations using this workflow should confirm both feature availability and user readiness before use. This chapter covers PET/CT functionality currently described in Sirona's advanced imaging materials. Compliance related visual indicators, including the lossy compression indicator, are covered in the next chapter. This chapter covers PET/CT functionality available in Sirona. Compliancerelated visual indicators, including the lossy compression indicator, are covered in the next chapter.
Related to
Comments
0 comments
Please sign in to leave a comment.